
Welcome to the sixth in our PTD Flow video series, where we show you how easy it is to do online personal training with PT Distinction.
In this episode, we will show you how to create an automated pre-made package in under 5 minutes using the PT Distinction personal trainer software.
In this video, I’m going to show you how to easily set up a pre-made package that clients can sign up for either on your website or via a link you provide. Once they sign up, they’ll be automatically added and receive all the coaching you want them to have—completely automated.
You can then personalize or add to their coaching as needed. They’ll have access through both your web portal and mobile apps, receiving all your content right away. It’s an incredible feature, and I’m going to show you just how simple it is to do.
First, head to the burger menu and click on Packages. This will show you a list of any packages you’ve created already. To create a new one, click on Add a Package.
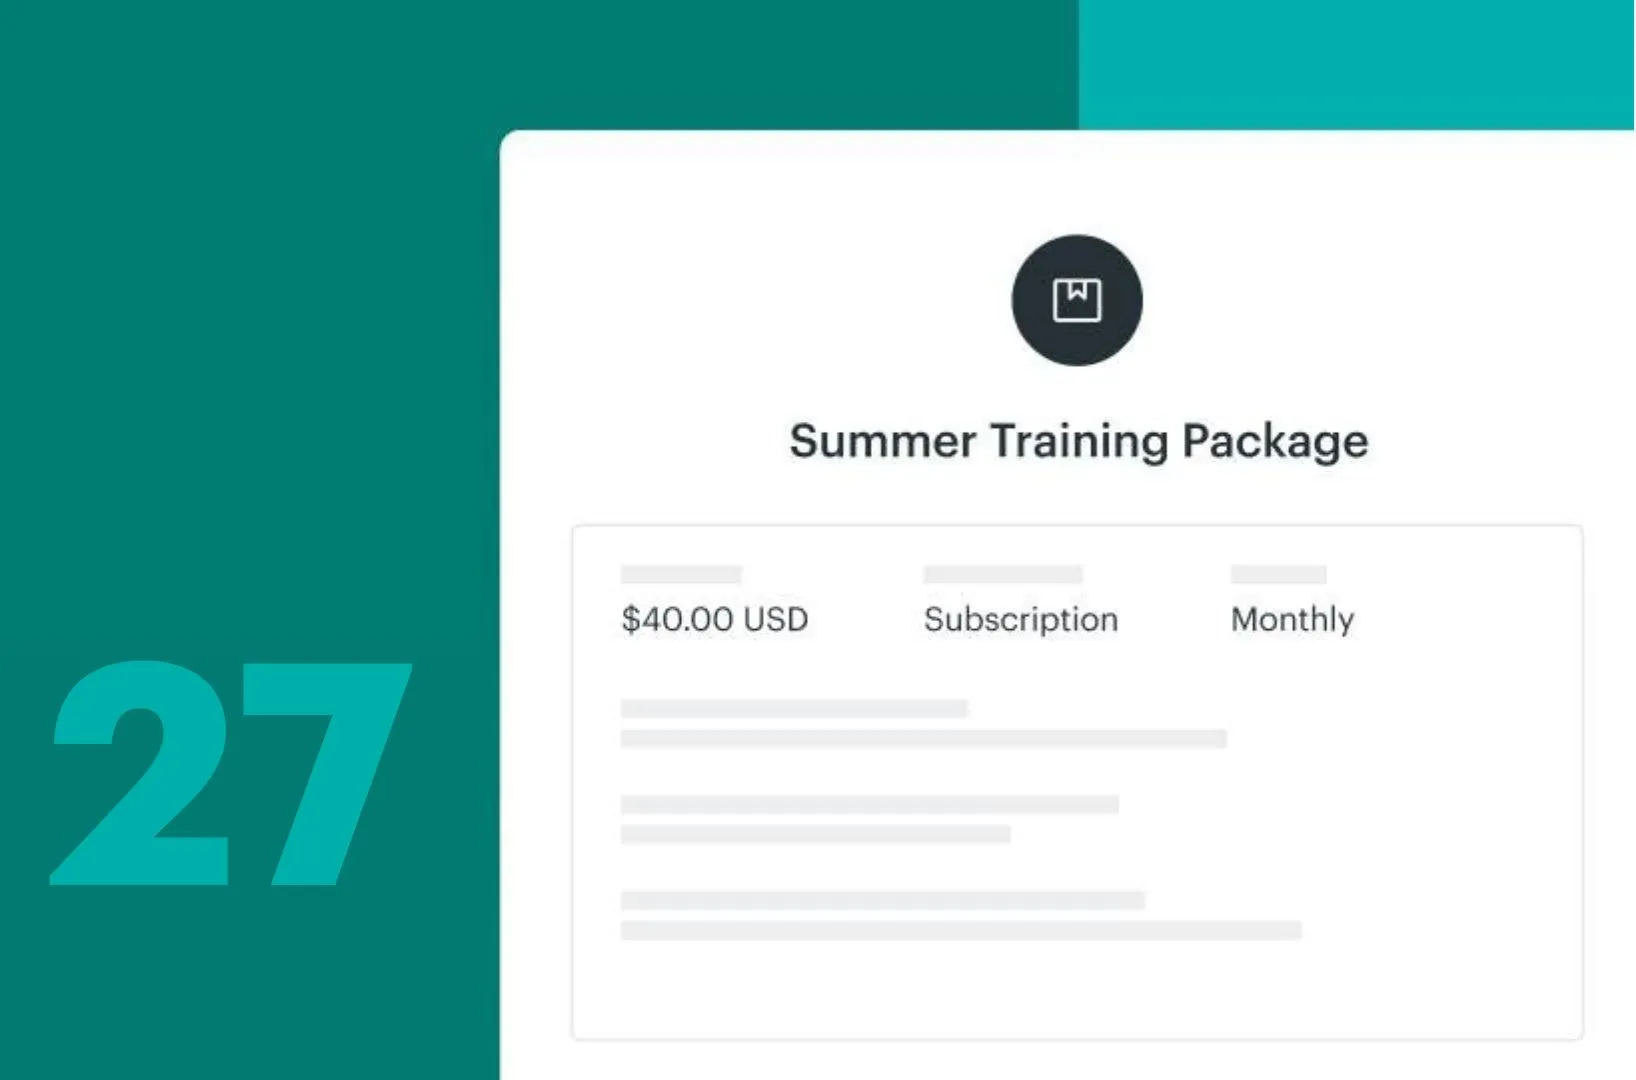
You’ll see a helpful guide that walks you through the process. It’s pretty straightforward. Give your package a name, then click Next.
Next, you’ll select the groups you want clients to be added to automatically. For this example, I’ll use a Challenge group.
You can choose a specific date or day for the program to start. For this example, I’ll set it to next Monday. This ensures that all clients join at the same time.
If you want to add clients to additional groups, you can do that too. I’ll add them to my Onboarding Group. Once that’s set, click Next.
You can add as many groups as needed. If you have clients in a marketing group, for instance, you can choose to automatically remove them from that group when they sign up for your package. It’s very efficient.
Now, select the payment type: One-off, No payment, or Subscription. Choose your preferred amount and currency, and decide the payment period—whether it’s monthly, weekly, or bi-weekly. I’ll go with every two weeks.
You also have the option to include a free trial period, where clients get a free period at the start, and payment starts later.
There are a few more options you can customize. For example:
Additionally, for clients who don’t complete their sign-up (e.g., they provide an email but not payment details), you can add them as inactive users. This way, you won’t be charged for them, but you can still add them to a marketing email group for follow-ups.
If you’re offering one-off payments, you can set the duration of their access. For subscriptions, you can set a grace period if their payment fails, ensuring they still have access to the content while they work out the payment issue.
You can choose between one-way messaging (where only you can message them) or two-way messaging (which allows normal communication both ways).
Also, you have the option to send a login details email to clients. Since I’ve already added clients to my Onboarding Group, they’ll automatically receive a welcome email with their login details, so I’ll disable this option.
Once all of this is set, the package is ready. All you need to do now is share the link. You can copy it and send it out to prospective clients, or share it on your social media channels.
Alternatively, you can embed the signup form directly on your website. Just copy the code and paste it into your website builder.
At the bottom, you’ll see a summary of everything included in your package. As you can see, setting up a pre-made package is really simple and very powerful. Clients can sign themselves up and start right away, and you have complete flexibility.
Once the package is set up, you can easily review and edit it. All your packages will be listed, and you can track sales, see who signed up, and view other important details.
That’s it! You’ve successfully set up your pre-made package. Clients can sign up, get started instantly, and you can manage everything with ease.
Ready to join the family?
We'll get you up and running in no time. Start with our zero-risk free trial and build your personal training empire today.